

Click here for larger image of finished product.
There is no doubt about it, anti-bot plates (those things that go on the bottom of crampons that help keep snow from globing up on them) are very necessary to keep you climbing safe and fast in the mountains. However, even though many crampons come with them these days (like my Black Diamond Neves), I find most to be very heavy and bulky. I assume this is so the manufactures don’t have to deal with replacing broken ones all the time. The good part is that most are easy to remove and making your own is a piece of cake!

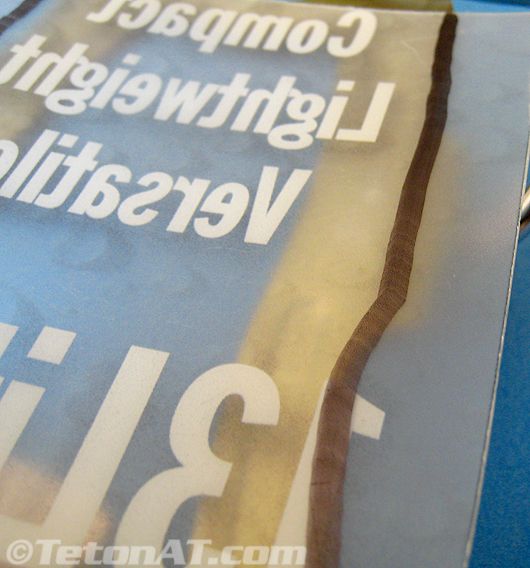 Historically, milk jugs were often used for the task, but I have found plastic with recycle numbers 5, 6 and 7 to work a bit better. Basically you’re looking for a piece of plastic that is durable…having it clear helps a bit in the construction process. Here, I am using some old stuff sack holders from the shop…number 5 I believe. Step one is to cut out a shape that is slightly bigger than the toe or heal piece of the crampons. Use a marker and trace the outside of the crampon and cut off the excess plastic. If you can’t see through the plastic, flip the spikes upside down and on top of the plastic, and trace around the outside. Once you have the general shape desired, see if it fits well on the underside of the crampon. If not, keep cutting until it fits snugly, without the plastic sticking out from underneath the crampon in the front.
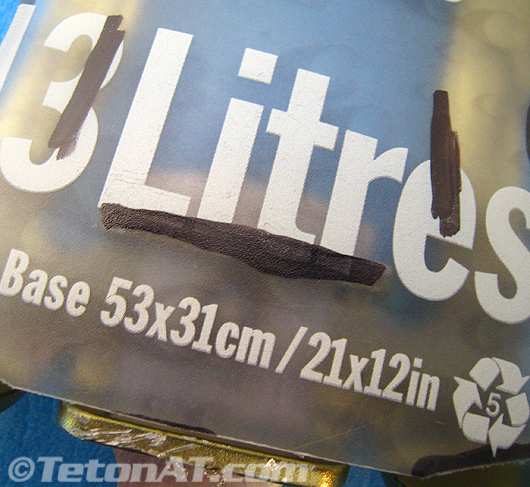
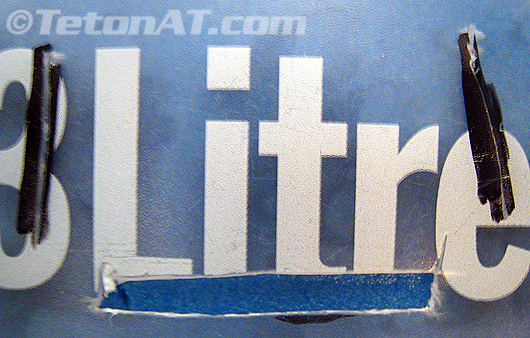 The next step is to mark the plastic on the inside edge of the crampon and in a few spots between the spikes. For the toe piece, most of the time (and the minimalist approach) I make one slot in between the two front points, and one on each side between the rear spikes. I also like to cut out a long and thin piece where the metal from the adjustment mechanism curls downward. This lets the anti-bot plate sit flat on the crampon and allows you to run the center bar through the plate…making it more secure. Once all the slots are cut, place the plate on the bottom of the crampon, making sure it goes underneath the pieces of the toe bail that extend through the side.

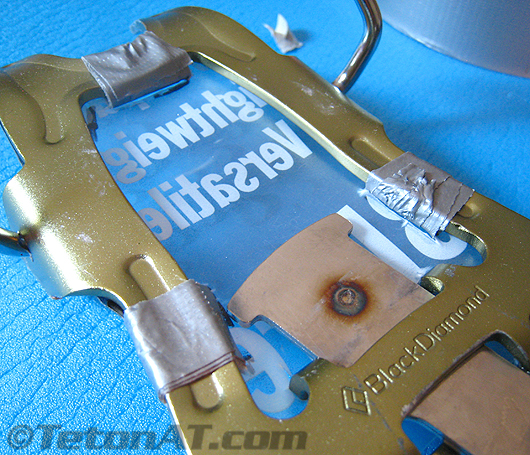 I’m sure there are many different things you can use to attach the plastic to the toe piece and zip-ties have always been popular. These days I use thin strips of duct tape. Usually strips about 3” long do the trick. If you have trouble threading it through the slots, I find sticking the tape to something and then pushing it through the slots works well. Since I only use three slots on the toe piece, I often use another strip of duct tape across the whole front section, which holds the corners down nicely. Once you’re all taped up, re-thread the center bar underneath the back piece of the plate, so it holds the plastic down better. Repeat for the heal piece.
Depending on the type of plastic you use, you can often expect your homemade anti-bot plates to least at least one season…maybe more depending on its durability. Reeders has some nice ones he made out of apple juice bottles. Don’t be afraid to experiment!
Thanks for extremely useful post! I will definitely try to try to make it 🙂
Your welcome Matus!
Have a nice day!
any idea on the weight of your homemade antibott plates? (per crampon / total?) i’m curious about the comparo to the lightweight antibott like those made by / for CAMP
jason…i’m not sure about the weight, but i would guess it is largely dependent on the type of plastic you use for the plates. this would also be a big factor in durability, depending on how much you walk on rocks.
Rando – I’m heading to Ecuador for a few volcanos but my old plates are shot. Unfortunatly my crampons are out of production so buying commercially manufactured plates isn’t an option (not made anymore). I realize you say these home made numbers should last a season but should I make a couple sets to be safe?
mike m…yo yo, sounds like a fun trip. a backup pair might be handy. you CAN find really thick plastic if you shop around the juice aisle long enough. also…if you substitute zip-ties in place of the duct tape…you will probably increase the longevity of them as well. have fun!!!