Well it’s getting to be that time of year when the snow gets firm on just about all aspects and steep skinning can be a challenge. I have a pair of Dynafit ski crampons, but I really don’t use them that much. I am one of those backcountry skiers that prefers to skin over bootpack, so I want to try to get out with them more this year.
The ski crampons I have aren’t that wide…78mm I think, so they currently only fit one of my set-ups…some 176 BD Ethics. These are a pretty specific ‘quiver-ski’ for me, so I wanted to see if I could get them to fit my 183 BD Havocs as well. Havocs are 88mm at the waist, so I had to eek out a whole cm without breaking my only pair of ski spikes.
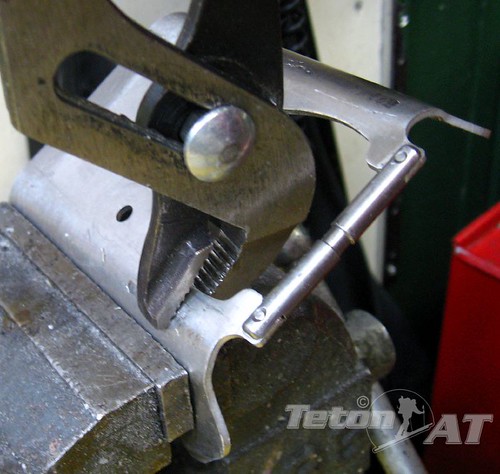
I decided just reefing on the crampons wasn’t the best idea, so I went to the shop and slapped them into one of the vices. I grabbed a pair of channel locks…and carefully pried on the base of the crampon, switching spots often to get an even bend. This part was pretty easy, and I mainly was just careful I didn’t screw up the bar that slides into the binding.
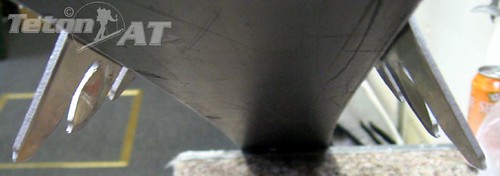
After putting them back on the ski, it was obvious that this would not be enough to ensure proper function when you need it the most. The crampons splayed out to the side and I was afraid that they may not penetrate the snow correctly when you are fully on one edge of the ski.
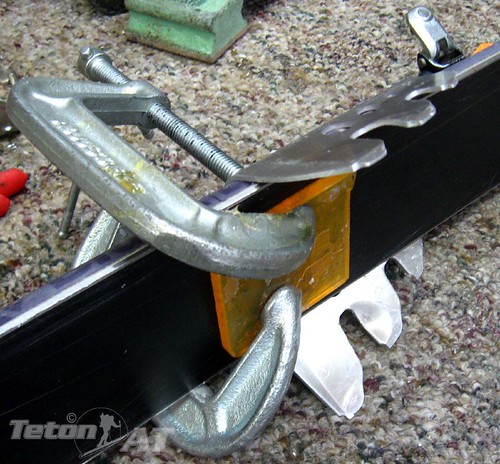
To get the ski crampons to fit right, I used a couple clamps and secured the back of the crampon to the base of the ski. If you care about your bases, use something to distribute the pressure from the clamp on your ski bases. We have a lot of old wax scrapers that do the job around here.
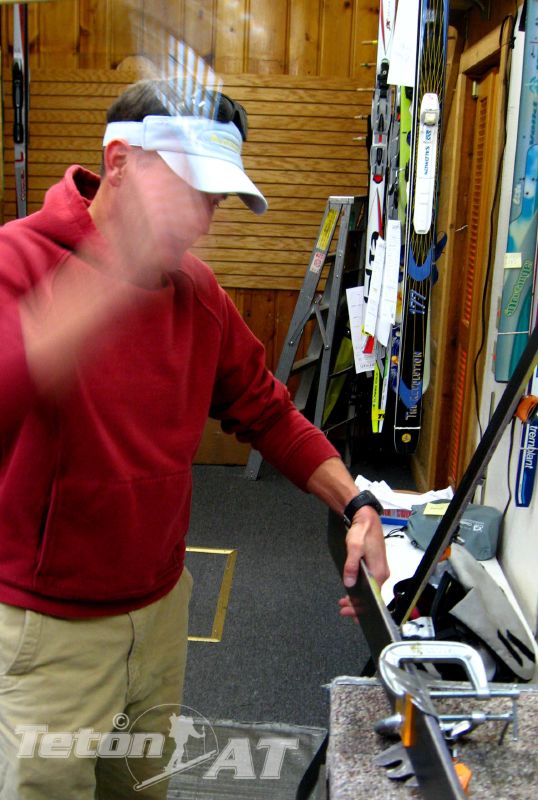
I tend to be more of a doer, than a thinker, so I grabbed a hammer and started bashing the spikes to get them to bend around the side of the ski. This may not be the most graceful of techniques, but I was hoping it would do the job. I focused on hitting the ends of the crampons, trying not to destroy the sidewalls of the ski.
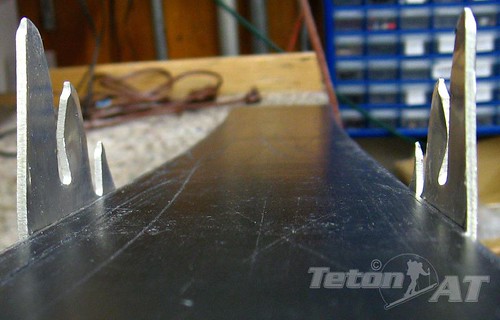
The technique seemed to work well and the ski crampons now came out nice and perpendicular to the ski. I still had a little bit of work to do on this Havoc set-up (before a quick lap up the King), cuz skier/climber/guide Greg Collins hooked me up with a pair of crampon locks he got from from B and D Ski Gear…thanks Greg! I don’t know any of the guys over at B and D, but they seem to be a hip company. The name is a little interesting though, and I wonder if the big boys (you know who I’m talking about) ever think about giving them a hard time.
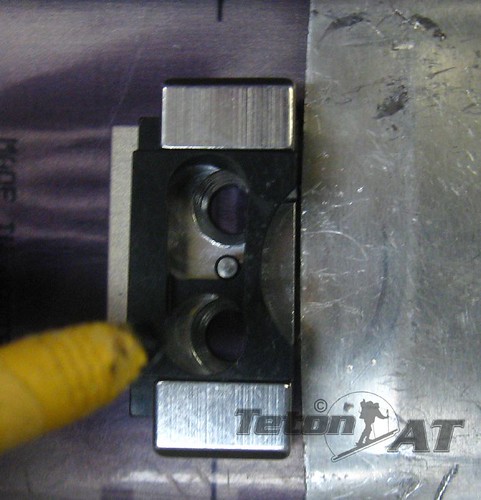
These are pretty simple little contraptions, a base plate with a bar that slides fore and aft to lock the crampon to the ski. Easy mount for anyone to do, just center it on the ski…a smidgen back from the crampon and mark where the holes are on the ski.
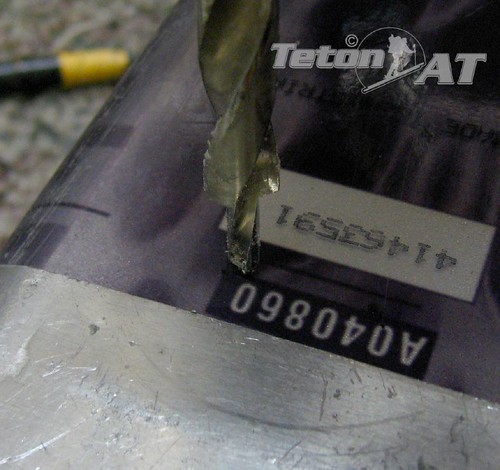
These depth limiting drill bits work great, but a little duct tape on a regular drill bit works just as well. Don’t be afraid of a few extra holes in your skier either…I consider it a non-issue.
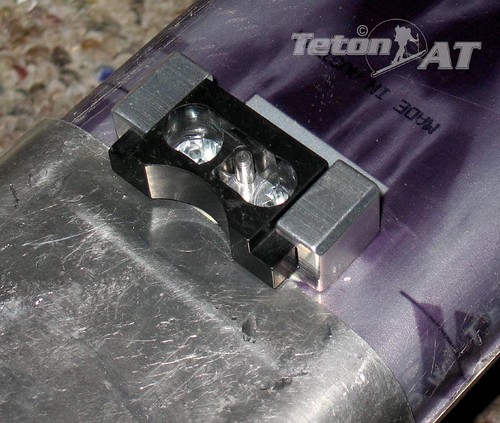
A little wood glue or epoxy in the holes for waterproofing and assuring the screws don’t back out is recommended. We like to use slow setting epoxy, cuz I think some heat is generated with the quick-setting stuff, and might be bad for the ski.
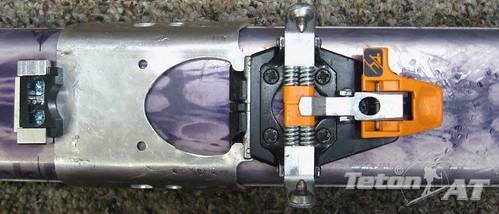
I’ve used this rig since this mod and everything seems to work grat. The locks held spikes when I was in the high binging position, and the ski crampons work amazing well at turning otherwise sketchy skinning into…a piece-o-pie! 🙂

Hi Steve, me again!
Let folks know that actually Dynafit makes a crampon that will fit over 88mm Havocs, thus avoiding hamering.
Although your BD lock looks a safe alternative, for those using Verticals on their skis a compromise could be using plastic round heel posts on the crampon. Comforts or Verticals have a bigger space between ski surface and boot sole, making crampon use even more problematic. using these spacers makes the sole of the boot to press hard on the crampon on no riser position and even enough bite on first heel riser position. But I wouldnt dare to climb on secont position with crampons on. Maybe with the BD lock….
This is where our thoughts/needs differ Alex.
IMHO…I feel that I really don’t need ski crampons on lower angle slopes, and they only shorten my glide/stride (as well as make noise), so I will mostly use these crampons for skinning steeper slopes..when I am in the highest heel position and with the ski crampon locked down.
Good point on the spacing with the Comfort/Vertical.
RS
locking the crampon makes sense with the highest heel position, otherwise would put too much stress on the hinge and could prove slightly suicidal imho.
locking its definitely a much safer way of using crampons on tricky terrain.
can you say how much the locks would be? found no reference on the site.
thanks.
Looks like $27.50(US).
I use the B and D crampons on my 98mm waist skis, no modifications, and they work in all modes on the Dynafits. No screws, no assembly, just plug and go.
Which model do you have Derek?
Does it have one of those posts?
I’m one of those guys that is too lazy to take off crampons when skinning across a short section of rock – do you think the plastic slot on the Dynafits coupled with the lock down bar can withstand the force of the ski over rock (or even hard ice)? I’d be afraid that the torque would break the plastic piece which I find to be pretty flimsy. I have the Dynafit crampons but am considering switching to the Voiles specifically because of this fear.
Tough to say William…Let’s see how long it takes to find out!! 🙂